Helm 설치하기
curl -O <https://get.helm.sh/helm-v3.15.3-linux-amd64.tar.gz>
tar -zxvf helm-v3.15.3-linux-amd64.tar.gz
sudo mv linux-amd64/helm /usr/bin/helm
Traefik 설치
helm repo add traefik <https://traefik.github.io/charts>
helm repo update

# 나는 관리의 용이성을 위해 ns를 새로 만들어서 거기에 설치했다
k create ns traefik
helm install -f values.yaml --namespace=traefik traefik traefik/traefik

# 간혹 CRD가 설치 안 되는 경우가 있는데 그 경우 아래 명령어 입력
# Install Traefik Resource Definitions:
kubectl apply -f <https://raw.githubusercontent.com/traefik/traefik/v3.1/docs/content/reference/dynamic-configuration/kubernetes-crd-definition-v1.yml>

# Install RBAC for Traefik:
kubectl apply -f <https://raw.githubusercontent.com/traefik/traefik/v3.1/docs/content/reference/dynamic-configuration/kubernetes-crd-rbac.yml>

# traefik 2.10 버전 이후에 api version을 traefik.containo.us에서 traefik.io로 바꿈
apiVersion: traefik.io/v1alpha1
helm install 때 values.yaml 값을 오버라이딩하여 install 가능하다
helm install -f values.yaml
# 혹은
helm install —values values.yaml
# values.yaml
dashboard:
  enabled: true
kubernetes:
  namespaces:
    - traefik

service:
  spec:
    loadBalancerIP: "192.168.0.101"
traefik의 경우 custom resource인 IngressRoute를 사용하여 정의할 수 있다. 기존 인그레스 컨트롤러 정의 방법으로도 가능하긴 한데, IngressRoute로 정의하는게 조금 더 직관적이기도 하고 (안 썼지만) 더 지원해주는 기능들이 많아 사용한다
# 예시

apiVersion: apps/v1
kind: Deployment
metadata:
  name: nginx1
  labels:
    app: nginx1
spec:
  replicas: 1
  selector:
    matchLabels:
      app: nginx1
  template:
    metadata:
      labels:
        app: nginx1
    spec:
      containers:
      - name: nginx1
        image: nginx:alpine
        ports:
        - containerPort: 80
---
apiVersion: v1
kind: Service
metadata:
  name: nginx1
spec:
  selector:
    app: nginx1
  ports:
  - protocol: TCP
    port: 80
    targetPort: 80

---

apiVersion: traefik.io/v1alpha1
kind: IngressRoute
metadata:
  name: nginx-ingressroute
spec:
  entryPoints:
    - web
  routes:
  - match: Host(`여기에 사용하고자 하는 도메인을 넣는다`)
    kind: Rule
    services:
    - name: nginx1
      port: 80
MetalLB 설치
traefik을 NodePort 형태로 노출시켜 내부 서비스들을 외부 트래픽을 받게 하는 방법도 있지만, 이왕 시작한 거 LoadBalancer까지 붙여본다(가장 정석적인 방법). 온프레미스 환경에서, 서비스 트래픽이 많지 않은 상황이지만 포트를 깔끔하게 관리할 수 있는 그나마의 장점이 있는 것 같기도 하고 무엇보다 학습을 위해 loadbalancer를 붙여본다.
MetalLB: MetalLB는 온프레미스 환경에서 Kubernetes 클러스터에 LoadBalancer 서비스를 제공하기 위해 사용됩니다. 클라우드 환경에서는 클라우드 제공자가 LoadBalancer 서비스를 제공하지만, 온프레미스 환경에서는 MetalLB가 이 역할을 대신합니다.
Ingress Controller: Ingress Controller는 HTTP 및 HTTPS 트래픽을 Kubernetes 클러스터 내의 서비스로 라우팅하기 위해 사용됩니다. 이는 Ingress 리소스를 관리하고 클러스터 외부에서 들어오는 요청을 처리합니다.
MetalLB는 ARP를 사용하기 때문에 아래 설정 먼저 해주기
# see what changes would be made, returns nonzero returncode if different
kubectl get configmap kube-proxy -n kube-system -o yaml | \\
sed -e "s/strictARP: false/strictARP: true/" | \\
kubectl diff -f - -n kube-system

# actually apply the changes, returns nonzero returncode on errors only
kubectl get configmap kube-proxy -n kube-system -o yaml | \\
sed -e "s/strictARP: false/strictARP: true/" | \\
kubectl apply -f - -n kube-system
manifest로 설치
kubectl apply -f <https://raw.githubusercontent.com/metallb/metallb/v0.14.5/config/manifests/metallb-native.yaml>
IP 주소 범위 설정
---
apiVersion: metallb.io/v1beta1
kind: IPAddressPool
metadata:
  name: default
  namespace: metallb-system
spec:
  addresses:
    - 192.168.0.100-192.168.0.110 # 사용하고 있지 않은 ip대역으로 설정
  autoAssign: true
---
apiVersion: metallb.io/v1beta1
kind: L2Advertisement
metadata:
  name: default
  namespace: metallb-system
spec:
  ipAddressPools:
    - default
혹시 모르니 공유기 dhcp설정에서 Metal LB가 할당한 ip 대역을 사용하지 못하도록 설정하자
k create로 리소스 생성
k create -f metallb-config.yaml
Metal LB가 뜨게 되면 이제 traefik ingress controller에 external ip가 할당된 것을 볼 수 있다. 이 ip와 traefik이 리스닝하고 있는 포트를 공유기와 포트포워딩 해주자.
HTTPS 적용하기
외부에서 안전하게 클러스터 내에 있는 서비스들과 통신하기 위해 https를 적용한다. 인증서를 관리하기 위해 cert manager를 사용하겠다.
Cert Manager 설치하기
 # 버전 잘 확인해서 다운
 k apply -f <https://github.com/cert-manager/cert-manager/releases/download/v1.15.1/cert-manager.yaml>

 # 파드 잘 떴는지 확인
 k get po -n cert-manager
cert manager의 커스텀 리소스 중 Issuer는 네임스페이스 로컬인 Issuer와 클러스터 전역인 ClusterIssuer가 있다. 전부 LetsEncrypt로 할거니까 ClusterIssuer로 선택하여 진행하였다.
# letsencrypt로 cluster issuer 등록
vi cluster-issuer.yaml

apiVersion: cert-manager.io/v1
kind: ClusterIssuer
metadata:
  name: letsencrypt-prod
spec:
  acme:
    server: <https://acme-v02.api.letsencrypt.org/directory>
    email: email.com # 여기에 실제 사용하는 이메일을 넣어야 한다(안 그럼 에러가 나더라고요...)
    privateKeySecretRef:
      name: letsencrypt-prod
    solvers:
    - http01:
        ingress:
          class: traefik # nginx면 nginx라고 적기

k apply -f clusterissuer.yaml
만약 staging으로 먼저 테스트하고 production으로 바꾸고 싶다면 server 부분을 아래와 같이 만들고 테스트 해보는 것도 좋다 (아래 ingress router 설정까지 다 해봐야 브라우저 접속 테스트 가능함)
server: <https://acme-staging-v02.api.letsencrypt.org/directory>
Ingress Router 설정하기
지옥이 펼쳐진 부분이었다. 기존 자료들이 모두 traefik 2버전인데 3버전이 되면서 바뀐 부분들을 잘 반영하지 못했다. (혹은 cert manager에 대한 이해가 부족해서일수도…)
핵심은 certificate 리소스를 만들기, ingress router 설정하기 둘 다 해줘야 한다는 것이다. 자료들이 전자를 알려주지 않아 왜 연결이 안 되는지 한참 찾았다… 아래 글이 나를 살렸다
vi certificate.yaml

apiVersion: cert-manager.io/v1
kind: Certificate
metadata:
  name: # 이름 적기
  namespace: # 나는 관리 용이성을 위해 서비스와 같은 ns에 넣었다
spec:
  secretName: # 여기는 아무거나 적어도 된다. 다만 ingress router에서 secret name과 동일해야 한다
  issuerRef:
    name: # 앞에 설정한 cluster issuer 이름 적기
    kind: ClusterIssuer
  dnsNames:
    - # 설정하고자 하는 도메인 적기
apiVersion: traefik.io/v1alpha1
kind: IngressRoute
metadata:
name: # 이름 적기
namespace: # 네임 스페이스
spec:
entryPoints:
- websecure
routes:
- match: Host(`여기에 사용하고자 하는 도메인을 넣는다`)
kind: Rule
services:
- name: # 서비스 이름
port: # 포트 적기
tls:
secretName: # certificate에서 설정한 secretName과 동일한 이름
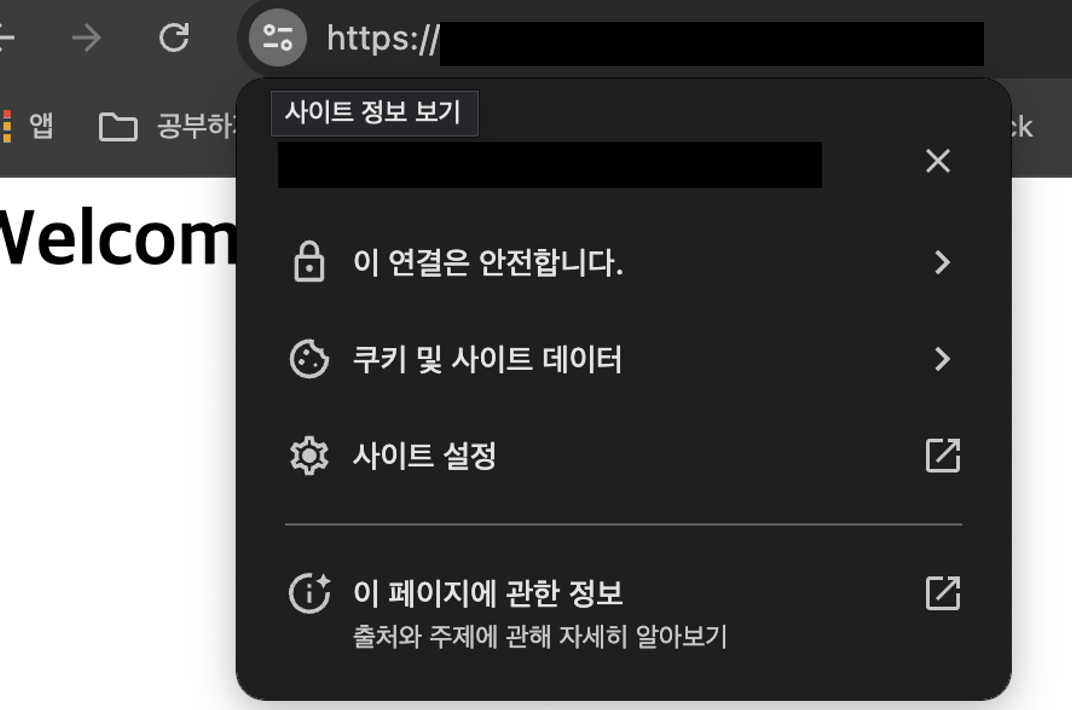
위 리소스들을 apply 해주면 드디어… https로 연결할 수 있다.

ArgoCD 설치
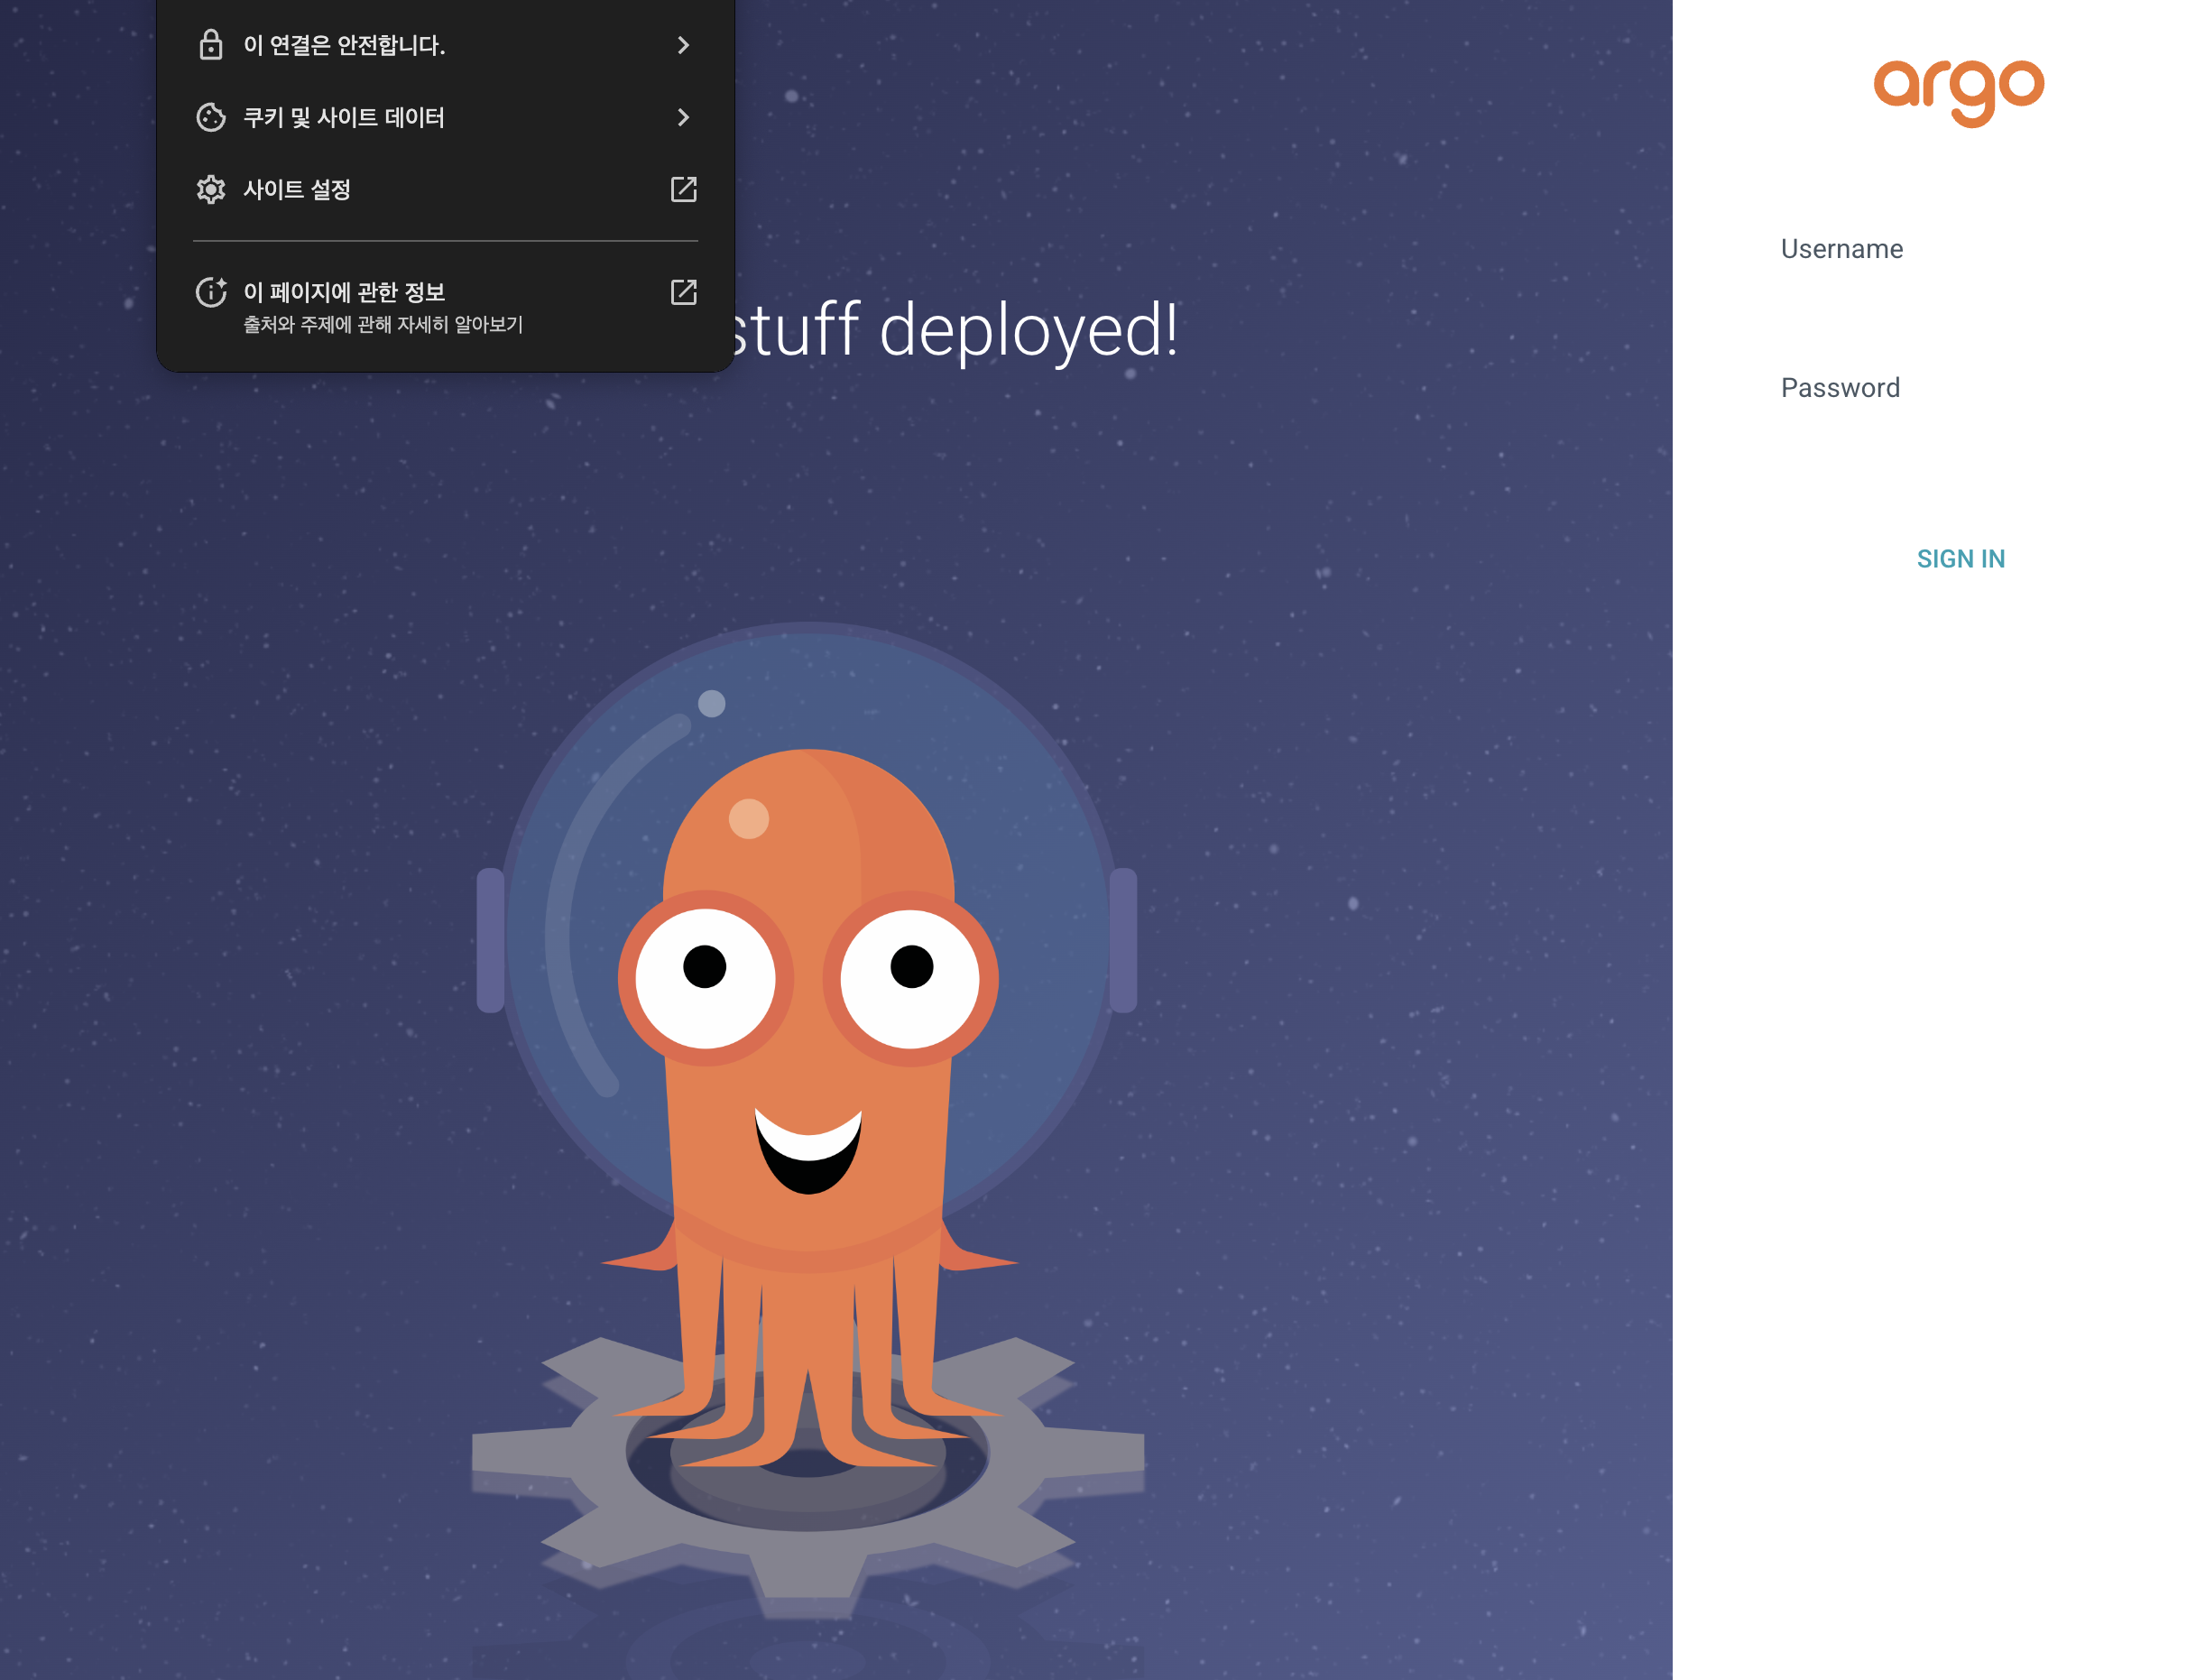
공식 문서를 따라했다. CLI로 하는 건 잘 나와있는데, Ingress로 GUI로 접속하는 부분이 불친절해서…. 삽질을 엄청나게 했다
https://argo-cd.readthedocs.io/en/stable/getting_started/
# ArgoCD 네임스페이스 및 리소스 생성
kubectl create namespace argocd
kubectl apply -n argocd -f <https://raw.githubusercontent.com/argoproj/argo-cd/stable/manifests/install.yaml>

# CLI 다운
VERSION=$(curl -L -s <https://raw.githubusercontent.com/argoproj/argo-cd/stable/VERSION>)
curl -sSL -o argocd-linux-amd64 <https://github.com/argoproj/argo-cd/releases/download/v$VERSION/argocd-linux-amd64>
sudo install -m 555 argocd-linux-amd64 /usr/local/bin/argocd
rm argocd-linux-amd64
ArgoCD CLI 접속
# 아래 명령어로 초기 비밀번호를 알아낸다
argocd admin initial-password -n argocd

# 초기 비밀번호 사용해서 로그인한다
argocd login <ARGOCD_SERVER>

# 비밀번호 업데이트 하기
argocd account update-password
ArgoCD UI 접속 1 - Load Balancer 버전
# 노드포트로 되어 있는 svc를 loadbalancer로 변경
kubectl patch svc argocd-server -n argocd -p '{"spec": {"type": "LoadBalancer"}}'

# 잘 바뀌었는지 확인 (metallb를 통해 ip 잘 할당 받았는지도 확인)
kubectl get service -n argocd

# metallb로 할당 받은 ip를 통해 접속한다
ArgoCD UI 접속 2 - Ingress 버전
먼저 argocd api server의 tls 옵션을 비활성화 해야 한다. argocd-server deployment를 수정하거나, configmap을 수정하거나 둘 중 하나를 해야 한다. configmap 쪽 수정이 좀 더 문서가 잘 나와 있어서 이것으로 선택
k edit configmap argocd-cmd-params-cm -n argocd

# 맨 아래 부분에 아래 내용을 붙여넣는다
data:
	server.insecure: "true"
ingress router를 만들어준다
apiVersion: traefik.io/v1alpha1
kind: IngressRoute
metadata:
  name: argocd-server
  namespace: argocd
spec:
  entryPoints:
    - web
  routes:
    - kind: Rule
      match: Host(`example.com`)
      priority: 10
      services:
        - name: argocd-server
          port: 80
    - kind: Rule
      match: Host(`example.com`) && Headers(`Content-Type`, `application/grpc`)
      priority: 11
      services:
        - name: argocd-server
          port: 80
          scheme: h2c
https로 접속하고 싶을 경우 certificate를 만들어주고, router도 아래와 같이 설정한다
apiVersion: cert-manager.io/v1
kind: Certificate
metadata:
  name: argocd-certificate
  namespace: argocd
spec:
  secretName: argocd-tls-secret
  issuerRef:
    name: letsencrypt-prod
    kind: ClusterIssuer
  dnsNames:
    - example.com
apiVersion: traefik.io/v1alpha1
kind: IngressRoute
metadata:
name: argocd-server
namespace: argocd
spec:
entryPoints:
- websecure
routes:
- kind: Rule
match: Host(`example.com`)
priority: 10
services:
- name: argocd-server
port: 80
- kind: Rule
match: Host(`example.com`) && Headers(`Content-Type`, `application/grpc`)
priority: 11
services:
- name: argocd-server
port: 80
scheme: h2c
tls:
secretname: argocd-tls-secret
위에 리소스들을 띄워주자

'프로젝트 일지 > BoWS' 카테고리의 다른 글
| Springboot 애플리케이션을 통해 helm 배포해보기 (feat. ProcessBuilder) (0) | 2024.08.01 |
|---|---|
| Helm으로 애플리케이션 배포 한 방에 해보기 (2) | 2024.07.22 |
| Springboot - React - MySQL 애플리케이션 k8s에 배포하기 (0) | 2024.07.18 |
| 홈서버 구축하기 - Proxmox 설치 및 쿠버네티스 클러스터 구성하기 (1) | 2024.07.08 |
| 홈서버 구축하기 - 미니 데스크탑 조립 및 우분투 설치 (0) | 2024.07.08 |


